Photo Credit @grace.t.s.p
Pinches, love them or hate them, are becoming increasingly common with the new-school style volumes indoors, or the modern style tufa routes in Spain or Greece. Coming in all different shapes, sizes and orientations, from narrow flowstone ripples where you’re barely pinching anything at all, to wide grit slopers with a pebble thumb catch, or those burly Spanish tufas that seem to fit perfectly in your hand. Each of these requires a different set of strengths and understanding of movement.
Differing from crimps and drags, which rely more on basic finger strength, pinches demand more strength in the wrists, muscles in our palms, both the flexor and extensor muscles on the back and front of our forearms and, of course, thumb strength.
Here are three areas to consider whilst planning your training to build that vice-like grip:
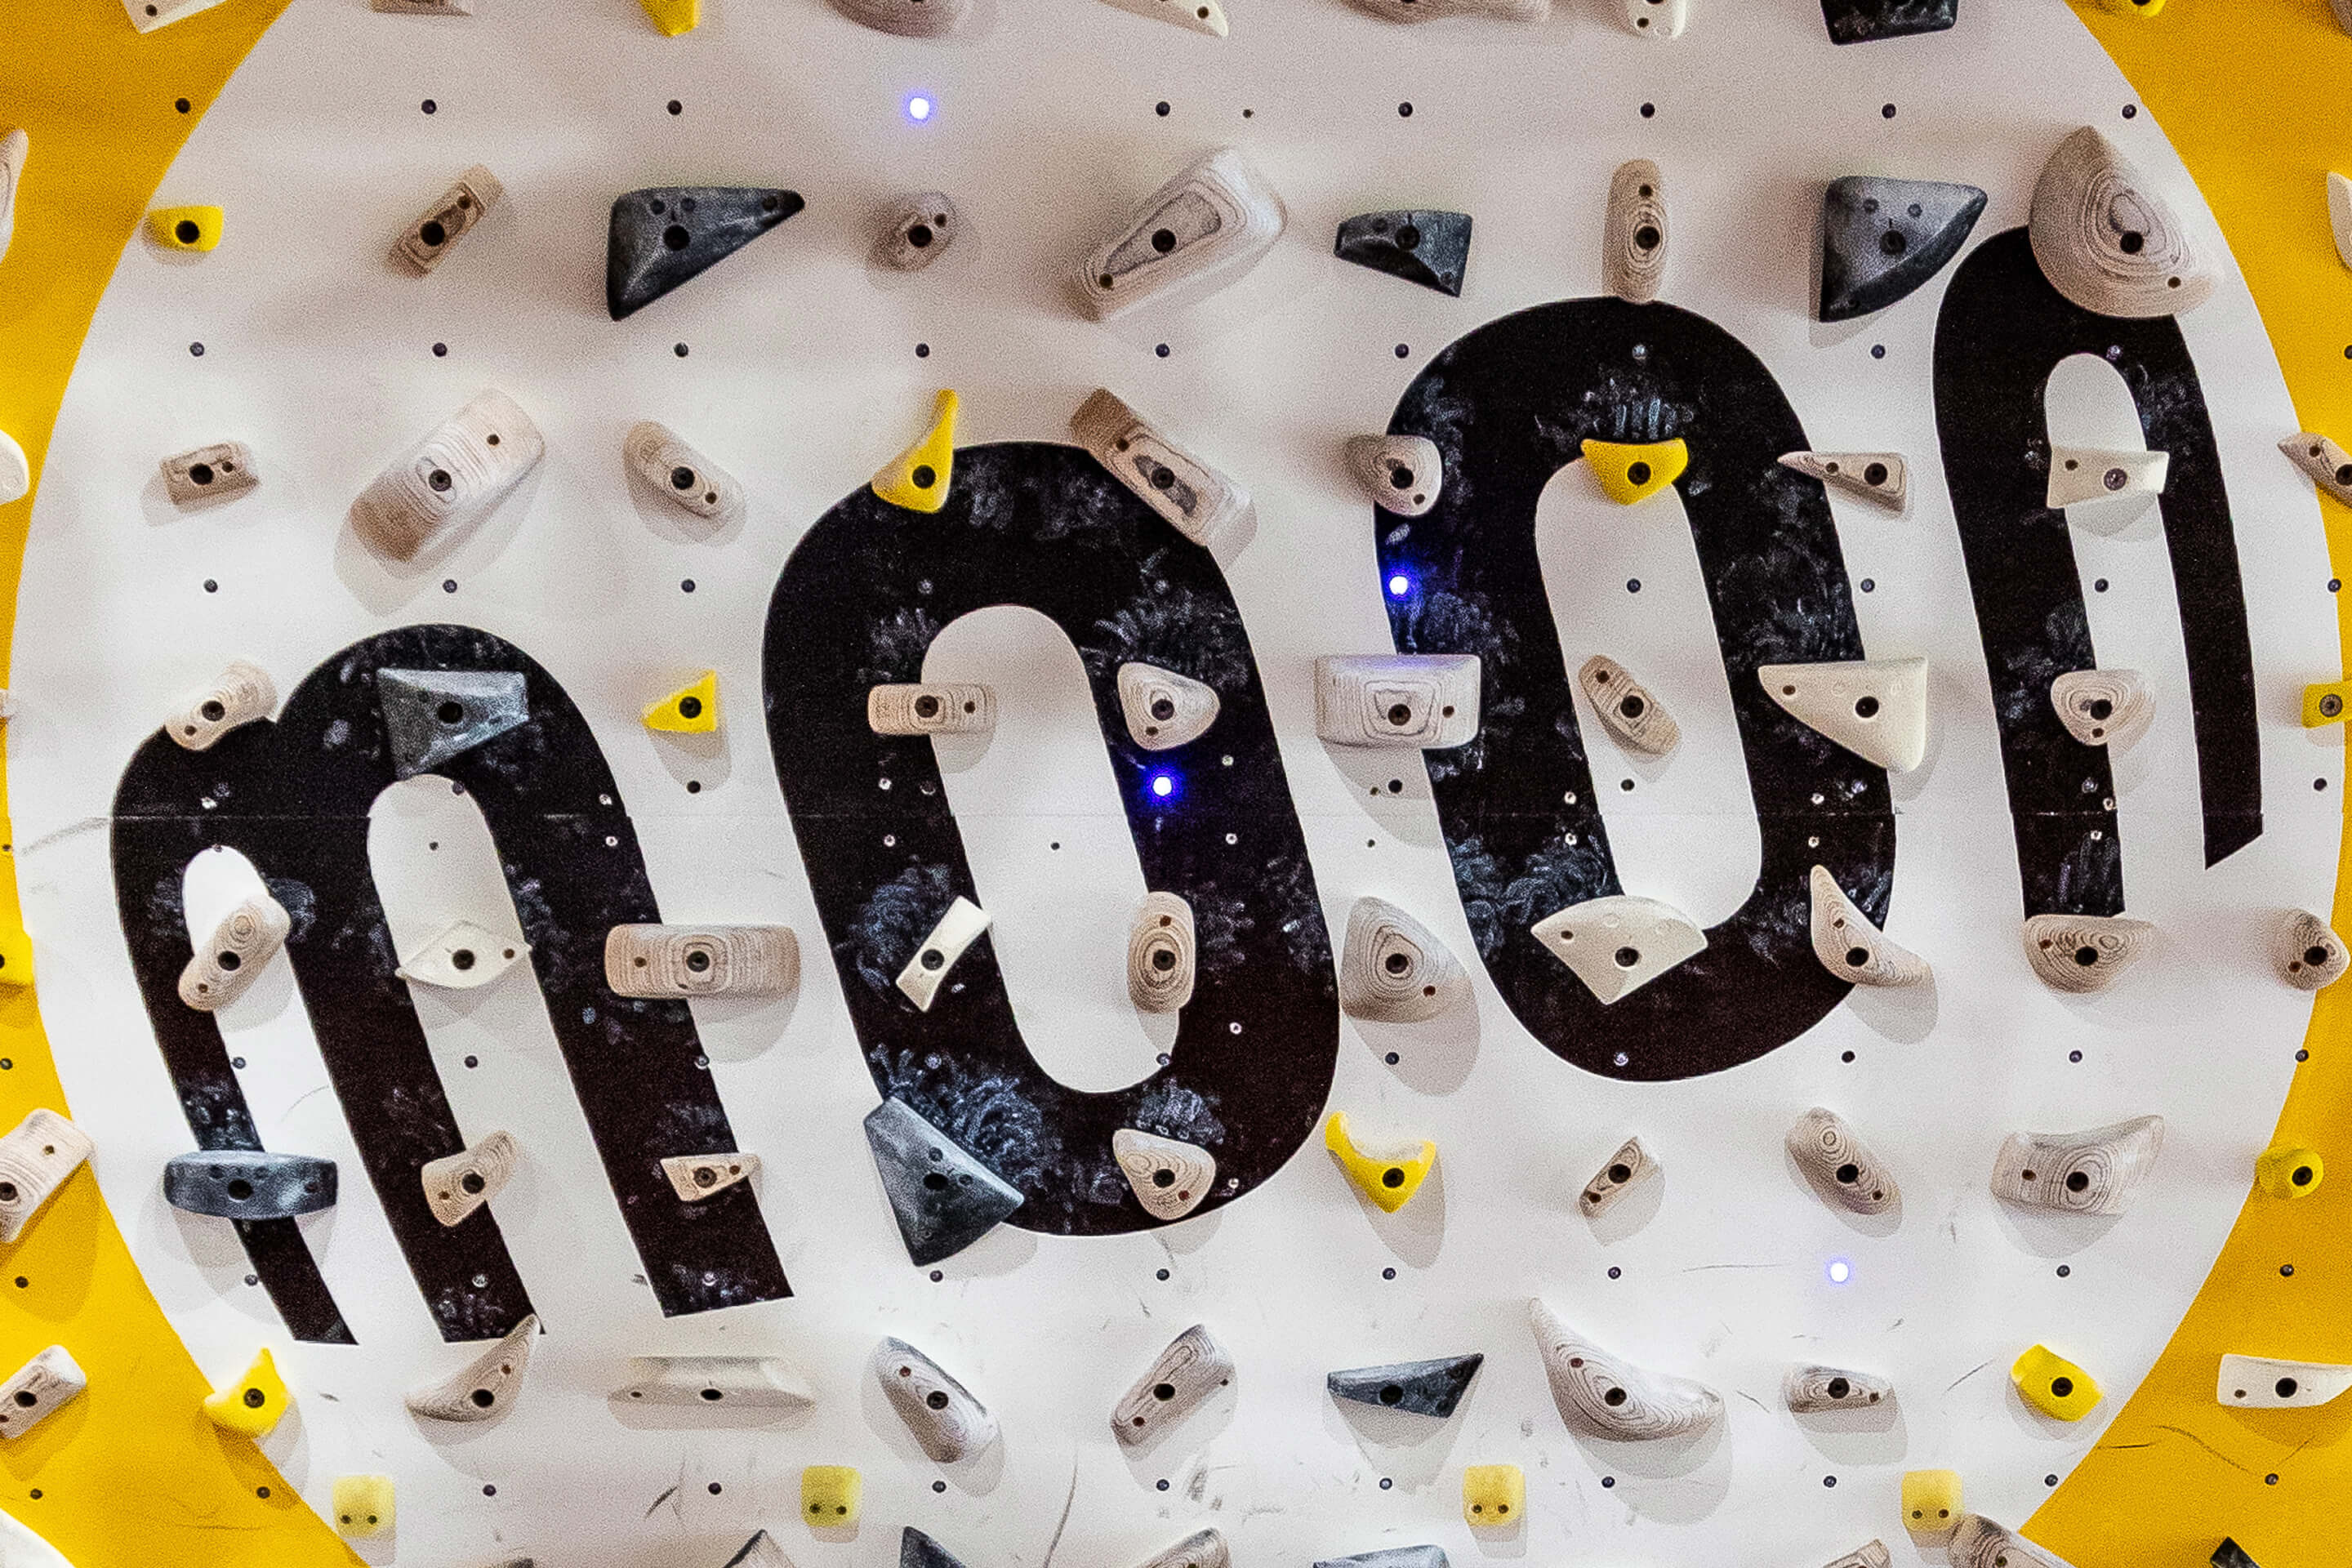
The most valuable and specific way to improve your pinching abilities is by simply climbing more on pinches, on the rock, on the comp wall, or on the board. There's no better way to learn movement and body positions as well as build up the strength and contact strength required for pinches. On the Moonboard where the climbing is physical and dynamic, you can target contact strength on pinches. Start by building a good base on a variety of different pinch sizes with a higher volume of climbing before moving onto low-volume and specific but powerful projects to work contact strength and maximal recruitment as you get closer to your planned performance period. Isolating different types of pinches is possible by using the Moonboard app to select different hold setups, the 2016 setup is great for working on narrow crimpy pinches with the yellow hold set, or medium size pinches on the blacks or whites but for the real burly pinch moves, the wooden holds on the most recent 2019 Moonboard set up is ideal. Learning the subtitles of the movement necessary for efficient climbing on pinches is also possible on the board as well as on the rock. Although board climbing is powerful it provides a great opportunity to practice moving efficiently on steep ground. Simply experimenting is a good place to start. See what works, and what doesn't. Filming yourself and reviewing is useful here. Some things to think about: How should you hold pinches? Experiment with finding the best place or ways to grip. The optimal spot to put your fingers and thumbs? Chalk marks from fingers and thumbs can be giveaways here (Stuey Five Bellies, Ben's classic Schoolboard test piece even has a dent in the plywood where the thumb sits after years of attempts). Some like to squeeze more by bending the palm, using the lumbricals, and others who prefer to crimp might hyperextend the fingers and bring the knuckles into the wall giving a more optimal position but less skin in contact with the rock. Some climbers even manage to twist their thumbs on a vertical pinch so that they are facing upwards and they're able to use the pads and size of the thumbs. Only practice and the resulting experience will teach you what works best and what best suits your hand size and anatomy. How hard should you squeeze? Lots of tension and squeezing throughout the forearms and upper body is needed to grip onto poor pinches and stay tight but often this can lead to over-gripping and a stressed and overly tight style of climbing which can impede a dynamic flowy climbing style. Have a play with different levels of squeezing, adjusting the feeling of tension in your body. How lightly can you grip and still stay on the wall? Body position. The orientation of pinches can influence the best way to position your body. Sometimes a 90-degree angle at the wrist and sagging into a deep under-the-body flag works nicely, other times you’re able to layback, twist or compress between two pinches. Getting side on, knee bars and drop knees can be applied nicely on drainpipe tufas and are worth practicing indoors.
Photo Credit - @andrewpawlby |
|
2 - Pinch blocks and fingerboardingThe fingerboard is an obvious tool for increasing the isolated finger strength for different types of pinches. Often wide pinches require a more open-handed position and narrower pinches are more crimpy. So both open and crimp positions are worth considering depending on the type of pinches you’re likely to come up against. Pinch Blocks are more specific, getting the thumbs involved as well. You can find all different shapes and sizes to suit the type of pinches that you might find on your project. If you’re training for a specific climb or area then target that size but for most climbers looking to improve on pinches in general or work a weakness then a palm-size block (a piece of 2x4 is good) is good for a base of recruitment and finger strength, as well as getting a variety of sizes in later down the line. You can attach your block to weights on a sling or lifting pin, lift up and use the same protocols that you might do on the fingerboard. Short intense five-second hangs with a little in reserve are a good place to start, adding volume if you start to plateau or moving onto longer hangs or repeaters. Start with repeaters if you wish to focus more on capacity. As well as simply lifting, aim to squeeze in on the block as hard as you can. It’s also worth training different wrist positions as well as sizes of pinches. Conditions, finger position and positioning of the block all have an impact on how hard or easy a lift can feel so don’t stress if the amount of weight you’re lifting changes, be flexible and focus on trying to squeeze really hard, using RPE (rate of perceived exertion) rather than percentages to choose your load. Hanging off blocks under a campus board or fingerboard is also an option but allows for a lot of compression and less specific wrist postiions, which may take away from the pinch training element. You’d have to be a real beast to hold the pinch either side of the crimps on the Armstrong fingerboard. Any takers? You might have seen grip lifting athletes use various forms of apparatus to train grip strength. As well as barbell spring collars or hand grippers to isolate the thumbs, less specific but fun for some variety and a good challenge. 3 - Extensor strength and Specific strength and conditioningThe forearm extensors (the muscles on the back on the forearm that open the fingers and extend the wrist backward) are often considered to be simply an antagonist muscle in climbing but play a vital role in both wrist stability and also in working together with flexors to squeeze. The extensors will be strengthened by climbing on pinches, and use of pinch blocks but some targeted work with weights will be more effective for building a base of maximal strength. Reverse wrist curl holds with dumbells are a good exercise for training the extensors. Static isometric exercises might be more specific to the way we use extensors in climbing so some isometric holds are likely better than curls, again at a variety of wrist postings and using similar isometric protocols to the fingerboard. Find yourself on tufas a lot? Our elbows use different muscles to flex depending on the position of our wrist, so if you’re often on vertical tufas you could train your neutral grip pulling strength with pull-ups in that position or hammer curls as an accessory exercise. Compressing a lot of tufas? Some bench pressing or flies to train your upper body squeeze.
Image: Isometric Reverse Hold
|
|
|
|
|